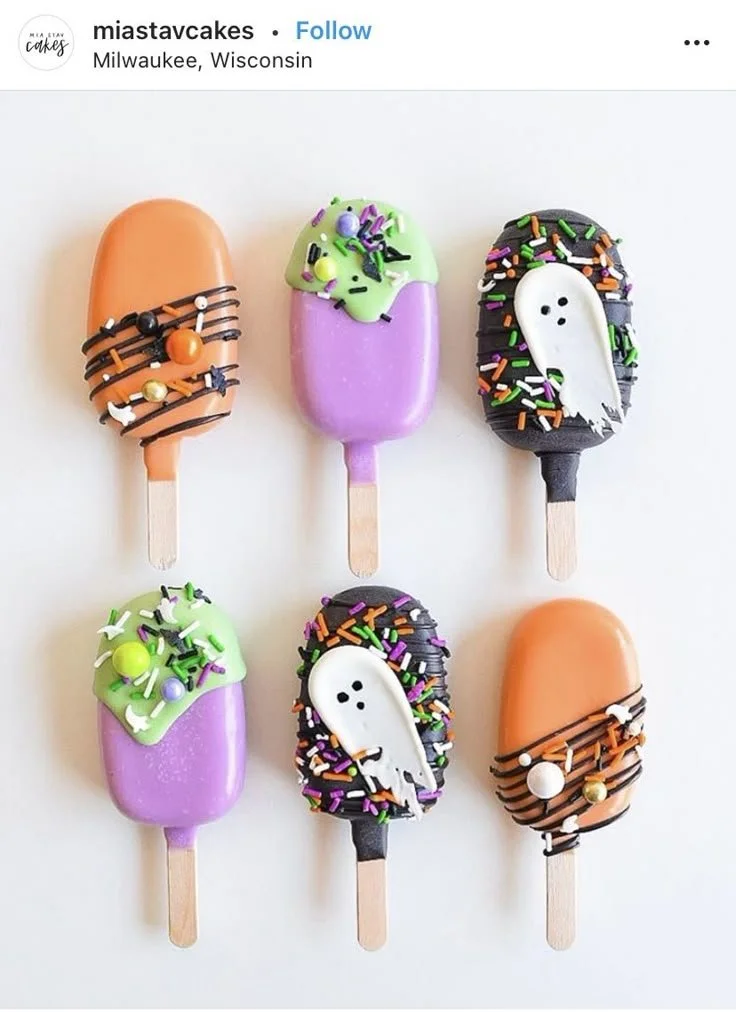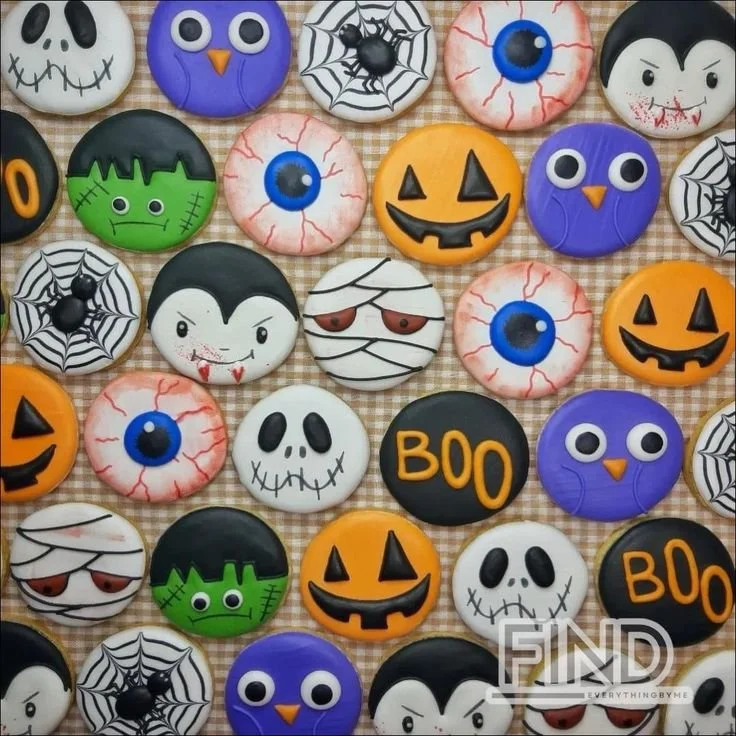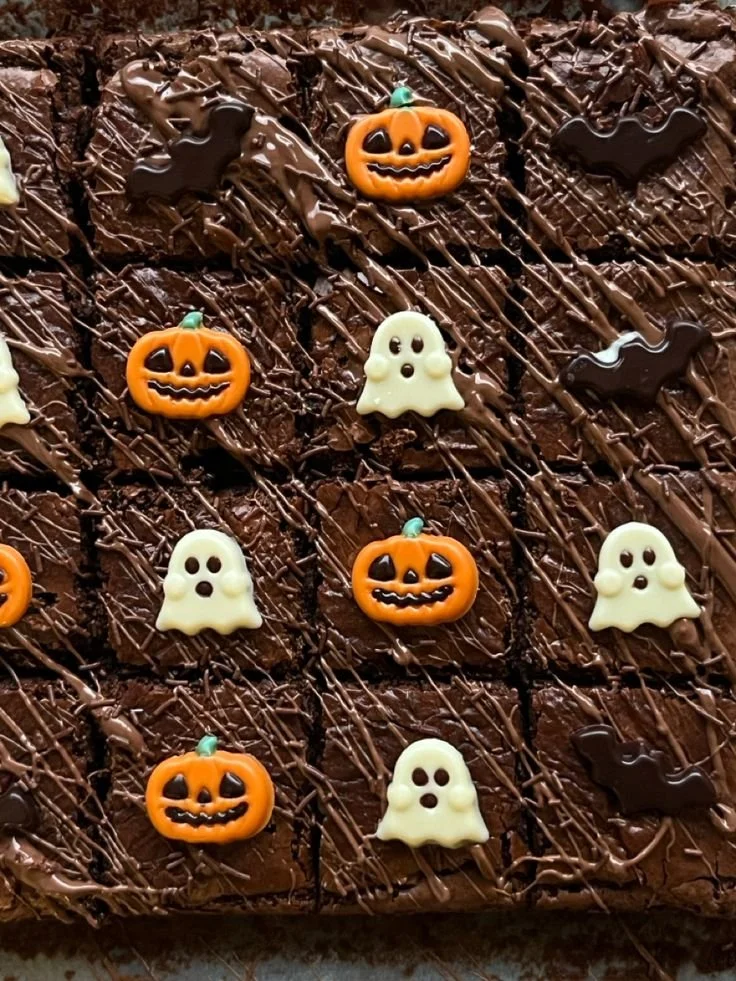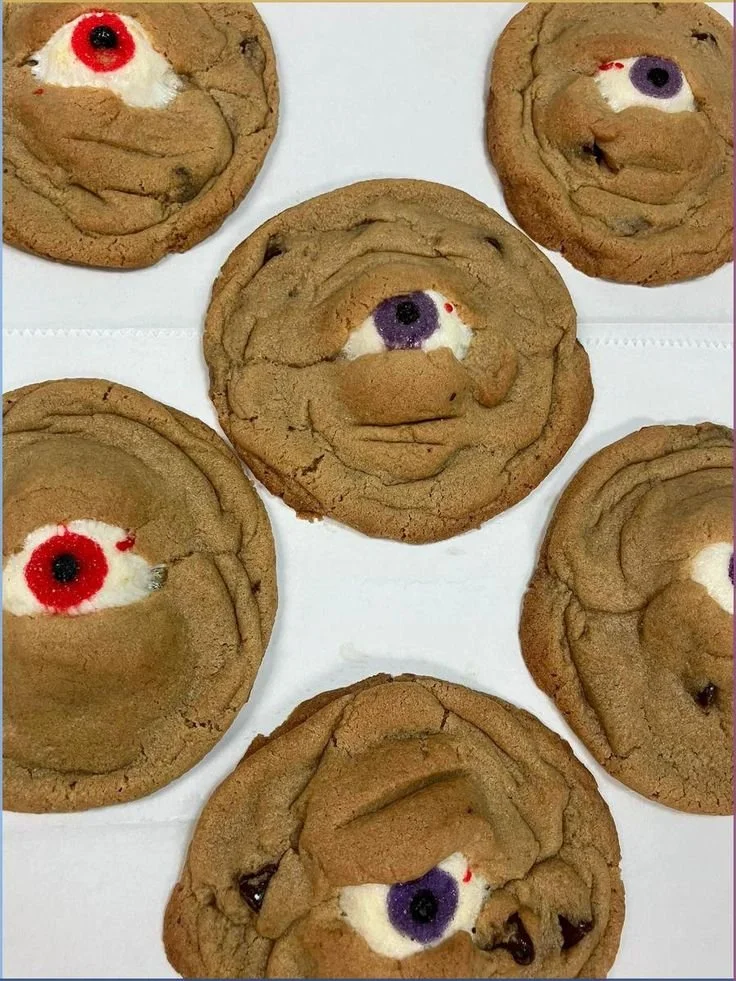
Indulge in the joy of baking with Spooky Halloween Cookies, a delightful treat that adds a fun twist to your fall festivities. These cookies are not just treats; they’re perfect for sharing with friends and family at Halloween parties, school events, or cozy movie nights. With their playful decorations and delicious flavors, this recipe is an enjoyable way to celebrate the season.
Why You’ll Love Spooky Halloween Cookies
- Fun Decorating: These cookies provide endless opportunities for creativity. Get the kids involved with decorating, letting their imaginations run wild with icing and toppings.
- Perfect for Halloween: Whether you’re hosting a spooky gathering or need a festive treat for school, these cookies fit right in with the Halloween vibe.
- Great Texture: Enjoy a satisfying balance of crispiness on the edges and a chewy center, making each bite a heavenly experience.
- Easy to Make: This recipe simplifies the cookie-making process, so even novice bakers can achieve impressive results without stress.
- Customizable Flavors: Adjust the spices or add in chocolate chips, nuts, or dried fruits to cater to personal preferences and dietary needs.
Recipe Overview
- Prep Time: 20 minutes
- Cook Time: 10 minutes
- Total Time: 30 minutes
- Servings: 24 cookies
- Difficulty Level: Easy
Ingredients You’ll Need for Spooky Halloween Cookies
-
For the Cookies:
- 2 ½ cups all-purpose flour
- 1 teaspoon baking powder
- ½ teaspoon baking soda
- ¼ teaspoon salt
- 1 cup unsalted butter, softened (creates a rich, creamy texture)
- 1 cup granulated sugar
- 1 cup brown sugar, packed (adds moisture and a slight caramel flavor)
- 2 large eggs
- 1 teaspoon vanilla extract
-
For the Decorations:
- Orange and black icing (or colors of your choice)
- Halloween-themed sprinkles
- Edible googly eyes (for a spooky touch)

How to Make Spooky Halloween Cookies
-
Prepare the Oven: Preheat your oven to 350°F (175°C). This ensures your cookies bake evenly.
-
Mix Dry Ingredients: In a medium bowl, whisk together the flour, baking powder, baking soda, and salt. This helps ensure even distribution of the leavening agents.
-
Cream the Butter and Sugars: In a large bowl, beat the softened butter, granulated sugar, and brown sugar until light and fluffy, about 2-3 minutes. This step is crucial as it helps to create a light texture in your cookies.
-
Add Eggs and Vanilla: Beat in the eggs one at a time, then mix in the vanilla extract until well combined.
-
Combine Mixtures: Gradually add the dry ingredients to the wet mixture, mixing until just combined. Be careful not to overmix, as this can lead to tougher cookies.
-
Scoop the Dough: Using a cookie scoop or spoon, drop tablespoon-sized portions of dough onto ungreased baking sheets, leaving space between each for spreading.
-
Bake: Bake for 10-12 minutes, or until the edges are golden brown. The centers might look slightly undercooked but will firm up as they cool.
-
Cool Completely: Let the cookies cool on the baking sheet for 5 minutes before transferring them to a wire rack to cool completely.
-
Decorate: Once the cookies are cool, decorate them with icing and sprinkles to create spooky designs. Have fun experimenting with different patterns!
Tips for Success
- Room Temperature Ingredients: Ensure your butter and eggs are at room temperature to achieve the best consistency in your batter.
- Don’t Overmix: To keep your cookies tender, mix until combined but not beyond. Overmixing can lead to a drier cookie.
- Check Cookie Doneness: Cookies may look underbaked when they come out of the oven. They will continue to cook as they cool on the baking sheet, so avoid leaving them in too long.
- Customize Sizes: Feel free to make larger or smaller cookies; just adjust the baking time accordingly.
Easy Variations
- Chocolate Chip Cookies: Add 1 cup of chocolate chips for a chocolatey twist.
- Pumpkin Spice: Incorporate 1 teaspoon of pumpkin spice for an autumnal flavor.
- Oatmeal Addition: Mix in ½ cup of rolled oats for added texture and a wholesome feel.
- Nuts: Add chopped walnuts or pecans for a crunchy bite.
- Spicy Variation: Sprinkle a bit of cayenne pepper or cinnamon in the dough for a spicy kick.
What to Serve with Spooky Halloween Cookies
- Milk: A classic pairing, milk complements the sweetness and creaminess of the cookies.
- Hot Chocolate: The rich flavor of hot chocolate enhances the enjoyment of every bite, especially on chilly nights.
- Fall Fruit Salad: Fresh apples, pears, and pomegranates add a refreshing, seasonal balance to the sweetness of the cookies.
- Ice Cream: Serve with a scoop of vanilla or pumpkin ice cream for a delightful dessert experience.
- Halloween Punch: A fun, themed drink can enhance the festive atmosphere of your gathering.
Storage and Reheating
- Refrigerator Storage: Keep the cookies in an airtight container at room temperature for up to a week.
- Freezer Storage: Freeze cookies by placing them in a single layer on a baking sheet until solid, then transfer them to a freezer bag. They can last for up to 3 months.
- Best Reheating Method: For soft cookies, microwave them for 10-15 seconds. For a crispy texture, place them in a preheated oven at 350°F (175°C) for a few minutes.
- Meal Prep Note: Cookie dough can be prepared ahead and frozen, allowing you to bake fresh cookies whenever you like.
Common Mistakes to Avoid
- Too Much Flour: Measuring flour incorrectly can lead to dry cookies. Use the spoon and level method for accuracy.
- Skipping the Chilling Time: If your dough is too soft, consider chilling it for 30 minutes before baking to avoid spreading.
- Overbaking: Watch the cookies closely in the last few minutes of baking to prevent a hard texture.
- Not Enough Cool Time: Allow cookies to cool before decorating to prevent the icing from melting.
Spooky Halloween Cookies: Background & Cultural Inspiration
Halloween cookies are a delightful embodiment of the spirit of this hauntingly fun holiday. Originating from the tradition of baking seasonal treats, the decorative aspect of Halloween cookies draws inspiration from folk tales and the whimsical nature of the holiday. The intricate designs often symbolize Halloween motifs such as ghosts, witches, and pumpkins, encouraging both creativity and togetherness. In many cultures, sharing treats during Halloween is seen as a way to foster community and share in the festivities.
Frequently Asked Questions
Can I use whole wheat flour instead of all-purpose flour?
Yes, you can substitute half of the all-purpose flour with whole wheat flour for a nuttier flavor and added nutrition. The texture may be slightly denser.
Can these cookies be made gluten-free?
Yes, you can replace the all-purpose flour with a 1:1 gluten-free flour blend that includes xanthan gum for the best results.
How can I make the cookies less sweet?
Reduce the granulated sugar by ¼ cup or substitute some of the sugar with unsweetened cocoa powder or spices like cinnamon for a more balanced flavor.
Can I prepare the dough ahead of time?
Absolutely! You can refrigerate the dough for up to 3 days or freeze it as mentioned above to bake fresh cookies later.
What if my cookies spread too much while baking?
Make sure your butter is softened, not melted. Also, chilling the dough can prevent excessive spreading.
Final Thoughts
Spooky Halloween Cookies offer a fun way to celebrate the season with family and friends. Their ease of preparation, delightful texture, and creative decorating options make them a fantastic choice for any gathering. Whether you’re baking them for family or sharing them at a party, these cookies are bound to bring smiles and create lasting memories. Dive into the spirit of Halloween by trying out this simple yet enjoyable recipe!