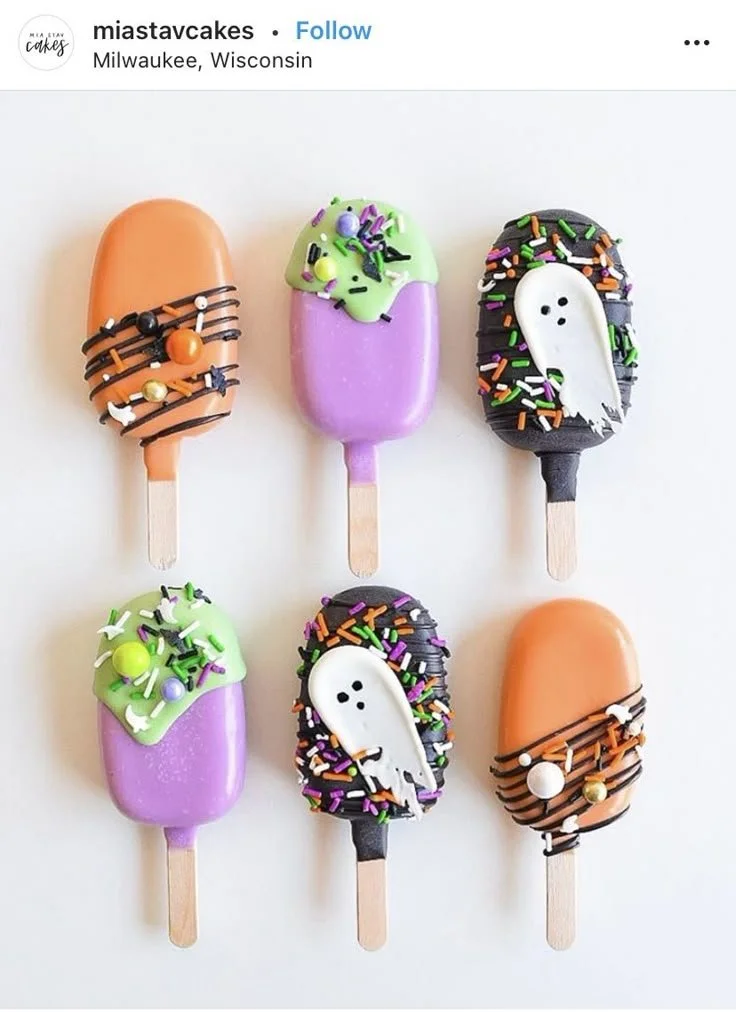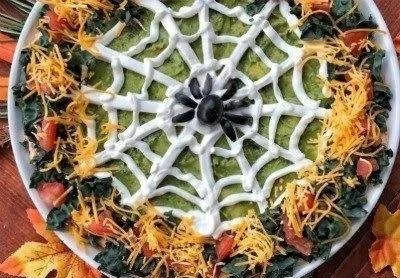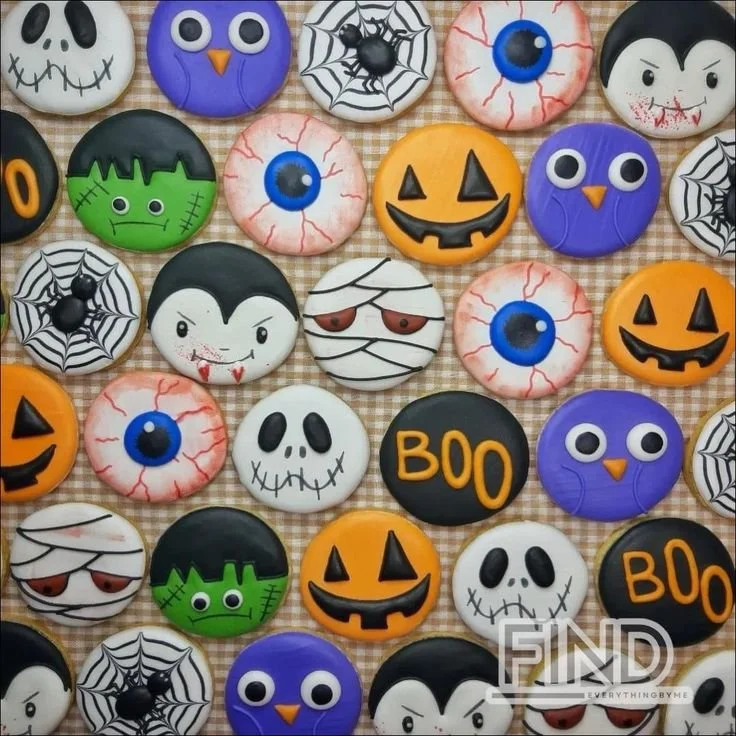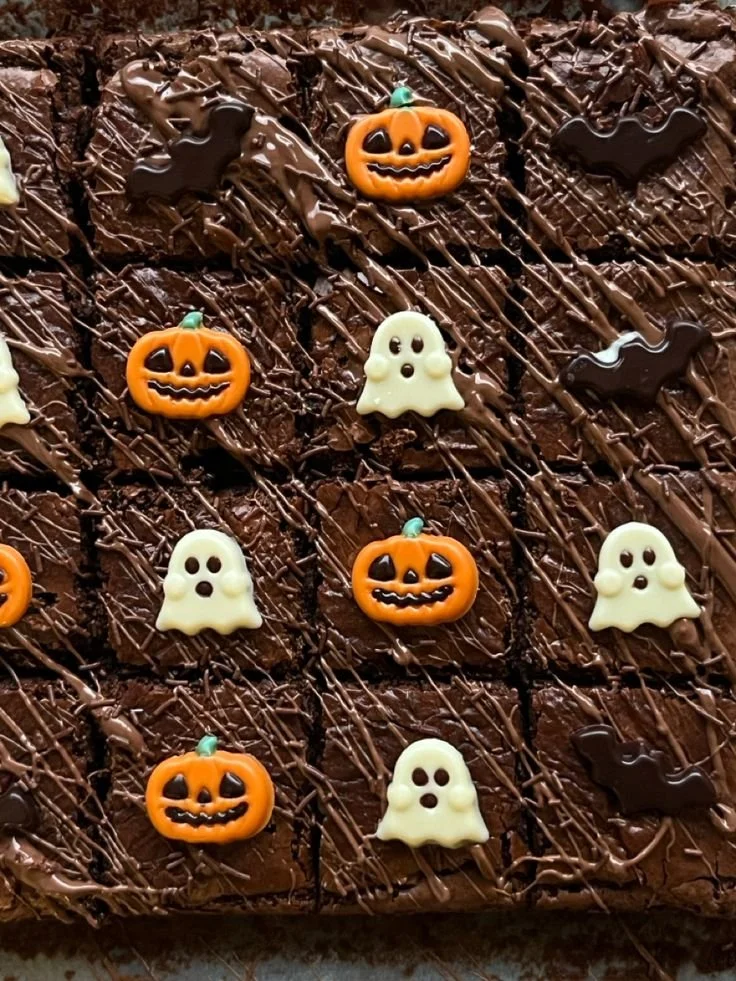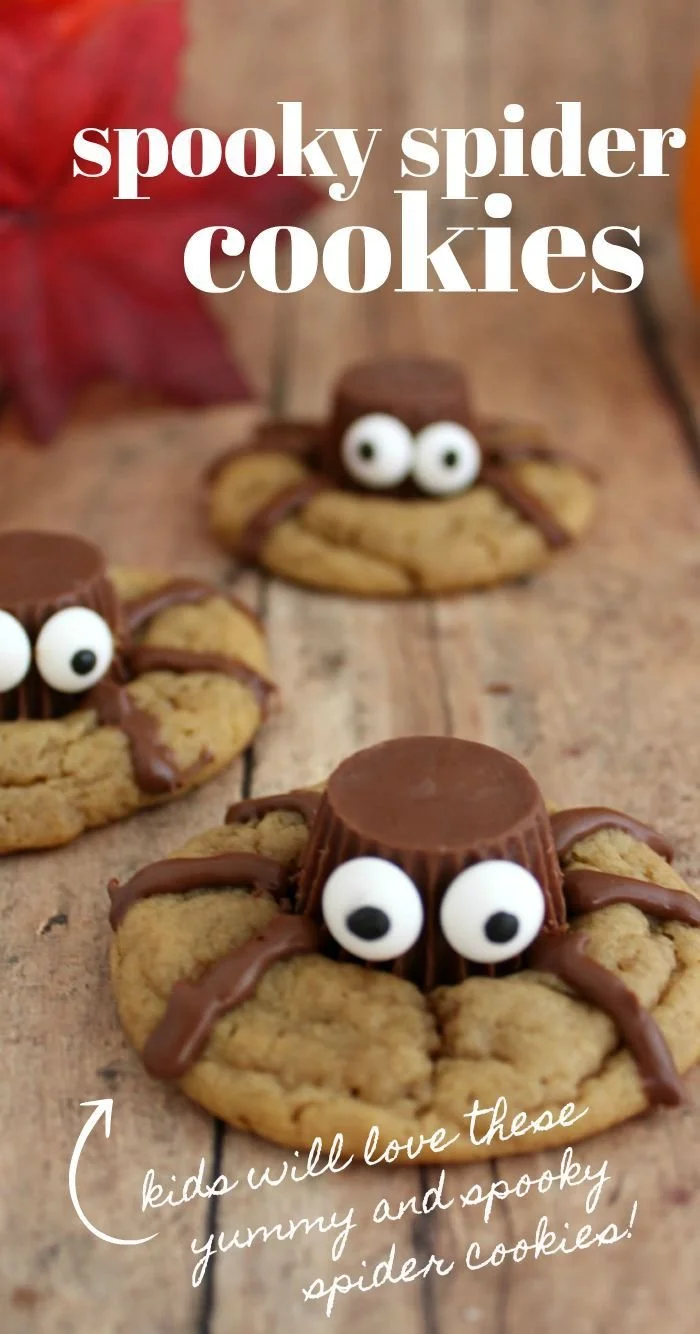
Making Halloween special is easy with Spooky Spider Cookies. These delightful treats not only capture the festive spirit but also combine a satisfying crunch with a sweet, chewy center. Their playful appearance makes them a hit with kids and adults alike. Plus, they’re simple enough for beginner bakers, making them perfect for family fun this Halloween.
Why You’ll Love Spooky Spider Cookies
- Fun and Engaging: These cookies are a great way to involve kids in baking, making it a perfect Halloween activity.
- Easily Customizable: Change up the decorations or the cookie base to fit your personal style or taste.
- Great for Parties: Serve these at Halloween gatherings for a guaranteed crowd-pleaser.
- Quick to Make: They require minimal prep and bake time, allowing you to whip them up in no time.
- Deliciously Satisfying: With a mix of textures from crispy edges to soft centers, these cookies are a treat for the taste buds.
Recipe Overview
- Prep Time: 20 minutes
- Cook Time: 10-12 minutes
- Total Time: 30-32 minutes
- Servings: 24 cookies
- Difficulty Level: Easy
Ingredients You’ll Need for Spooky Spider Cookies
-
For the Cookie Dough:
- 1 cup unsalted butter, softened (for a rich flavor and tender texture)
- 1 cup granulated sugar
- 1 cup brown sugar, packed (adds moisture and depth of flavor)
- 2 large eggs
- 1 teaspoon vanilla extract
- 3 cups all-purpose flour
- 1 teaspoon baking soda
- 1/2 teaspoon salt
-
For the Decorations:
- 1 cup chocolate chips (for the spider body)
- 1 cup black licorice (cut into strips for spider legs)
How to Make Spooky Spider Cookies
-
Preheat the Oven: Preheat your oven to 350°F (175°C). This ensures even baking.
-
Cream the Butter and Sugars: In a large mixing bowl, beat the softened butter, granulated sugar, and brown sugar together until creamy.
-
Add Eggs and Vanilla: Mix in the eggs one at a time, followed by the vanilla extract until fully combined.
-
Combine Dry Ingredients: In a separate bowl, whisk together the flour, baking soda, and salt. Gradually blend this into the wet mixture until just combined. Avoid overmixing to keep the cookies tender.
-
Scoop the Dough: Using a cookie scoop or tablespoon, drop spoonfuls of dough onto ungreased baking sheets, spacing them about 2 inches apart.
-
Bake the Cookies: Place the cookies in the preheated oven and bake for 10 to 12 minutes or until the edges are lightly golden. The centers may appear soft; they will firm up upon cooling.
-
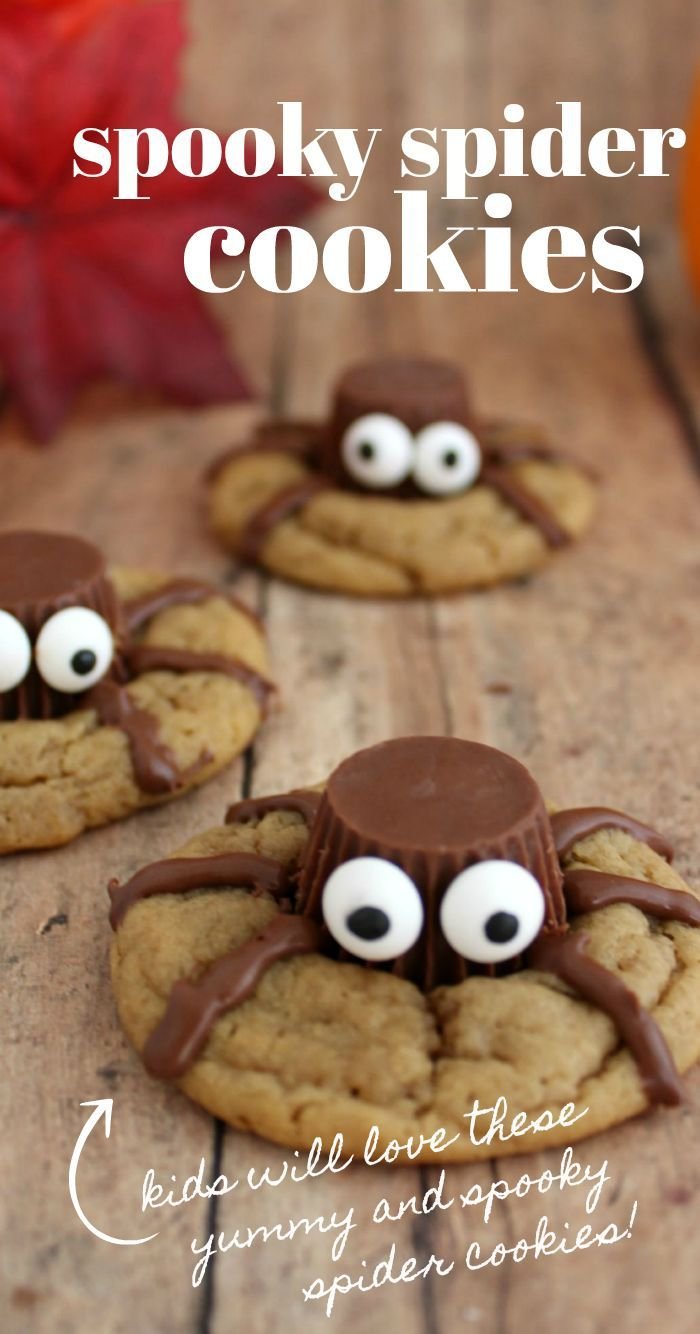
Cool and Decorate: Allow cookies to cool on the baking sheet for 5 minutes, then transfer to a wire rack. Once cooled, melt the chocolate chips in a microwave-safe bowl until smooth. Dip the bottom of each cookie into the chocolate to create a spider body, then gently press down on two licorice strips to form spider legs.
Tips for Success
- Room Temperature Ingredients: Ensure your butter and eggs are at room temperature for the best texture.
- Don’t Overbake: Keep an eye on the cookies; they will continue to cook slightly after being removed from the oven.
- Chill the Dough: If the dough feels too soft, refrigerate it for 30 minutes before baking to help shape the cookies.
- Customize Flavors: Feel free to add in nuts or other flavorings, such as spices, if desired.
Easy Variations
- Chocolate Dough: Substitute 1/2 cup of flour with cocoa powder for a chocolate cookie base.
- Different Candy: Use candy melts or gummy candies instead of chocolate to create unique spider decorations.
- Nut Allergies: If you’re sensitive to nuts, ensure that the chocolate chips are nut-free.
- Spooky Hut Cookies: Instead of spiders, shape the cookies as haunted house decorations with icing.
What to Serve with Spooky Spider Cookies
- Milk: A classic pairing, milk enhances the cookie’s sweetness and balances flavors.
- Hot Chocolate: This warm drink complements the cookie’s texture and adds a cozy feel.
- Fruit Juices: Pair these cookies with orange juice for a fun twist, enhancing the festive theme.
- Ice Cream: Adding a scoop of vanilla or pumpkin spice ice cream takes these cookies to the next level.
Storage and Reheating
- Refrigerator: Store cookies in an airtight container at room temperature for up to five days.
- Freezer: You can freeze the cookies for up to three months. Just make sure they are completely cooled.
- Reheating: To enjoy the cookies warm, microwave for 10-15 seconds until just heated through.
- Meal Prep Note: Prepare the dough in advance and refrigerate. Bake fresh cookies as needed.
Common Mistakes to Avoid
- Using Cold Ingredients: Cold butter or eggs can prevent proper creaming and mixing.
- Overmixing the Dough: This can lead to tough cookies; mix until just combined.
- Not Using Parchment Paper: This can lead to sticking; using parchment provides easy removal and cleaner cookies.
Spooky Spider Cookies: Background & Cultural Inspiration
Spider cookies are a playful take on the Halloween tradition of decorating treats. Inspired by popular Halloween motifs, these cookies unite the fun of baking with festive creative decoration. Each region may have its own spin on decorated cookies, highlighting local flavors or styles. This recipe benefits from its ease of preparation, making it a popular choice for family gatherings where sharing festive spirit and creativity reigns.
Frequently Asked Questions
What can I substitute for black licorice?
If you’re not a fan of licorice, consider using chocolate or gummy worms for a similar spooky effect.
How should I store my cookies?
Keep them in an airtight container at room temperature for optimal freshness for up to five days.
Can I refrigerate the cookie dough?
Yes, refrigerating the cookie dough for up to 24 hours allows the flavors to develop. Just allow it to soften slightly before baking.
How do I prevent the cookies from flattening while baking?
Chilling the dough for about 30 minutes before baking helps maintain the shape of the cookies.
Can I make these cookies without chocolate?
Absolutely! You can skip the chocolate completely and instead use colored icing or frosting to create fun spider designs on top of the cookies.
Final Thoughts
Spooky Spider Cookies are not just a treat; they’re a chance to create lasting memories with family and friends this Halloween. They’re easy to make, customizable, and, most importantly, delicious. Give this fun recipe a try, and watch as they steal the show at your holiday celebrations!
PrintSpooky Spider Cookies
Delightful Halloween cookies with a satisfying crunch and sweet chewy center, decorated to resemble spooky spiders.
- Prep Time: 20 minutes
- Cook Time: 12 minutes
- Total Time: 32 minutes
- Yield: 24 cookies
- Category: Dessert
- Method: Baking
- Cuisine: American
- Diet: Vegetarian
Ingredients
- 1 cup unsalted butter, softened
- 1 cup granulated sugar
- 1 cup brown sugar, packed
- 2 large eggs
- 1 teaspoon vanilla extract
- 3 cups all-purpose flour
- 1 teaspoon baking soda
- 1/2 teaspoon salt
- 1 cup chocolate chips
- 1 cup black licorice, cut into strips
Instructions
- Preheat the oven to 350°F (175°C).
- Cream the butter, granulated sugar, and brown sugar together until creamy.
- Add eggs one at a time and vanilla extract until combined.
- Combine dry ingredients in a separate bowl and gradually mix into the wet mixture.
- Scoop spoonfuls of dough onto ungreased baking sheets.
- Bake for 10 to 12 minutes until edges are golden.
- Cool cookies for 5 minutes, transfer to a wire rack, then dip in melted chocolate chips and press on licorice strips.
Notes
Customize the cookies with different decorations as desired, and ensure ingredients are at room temperature for best results.