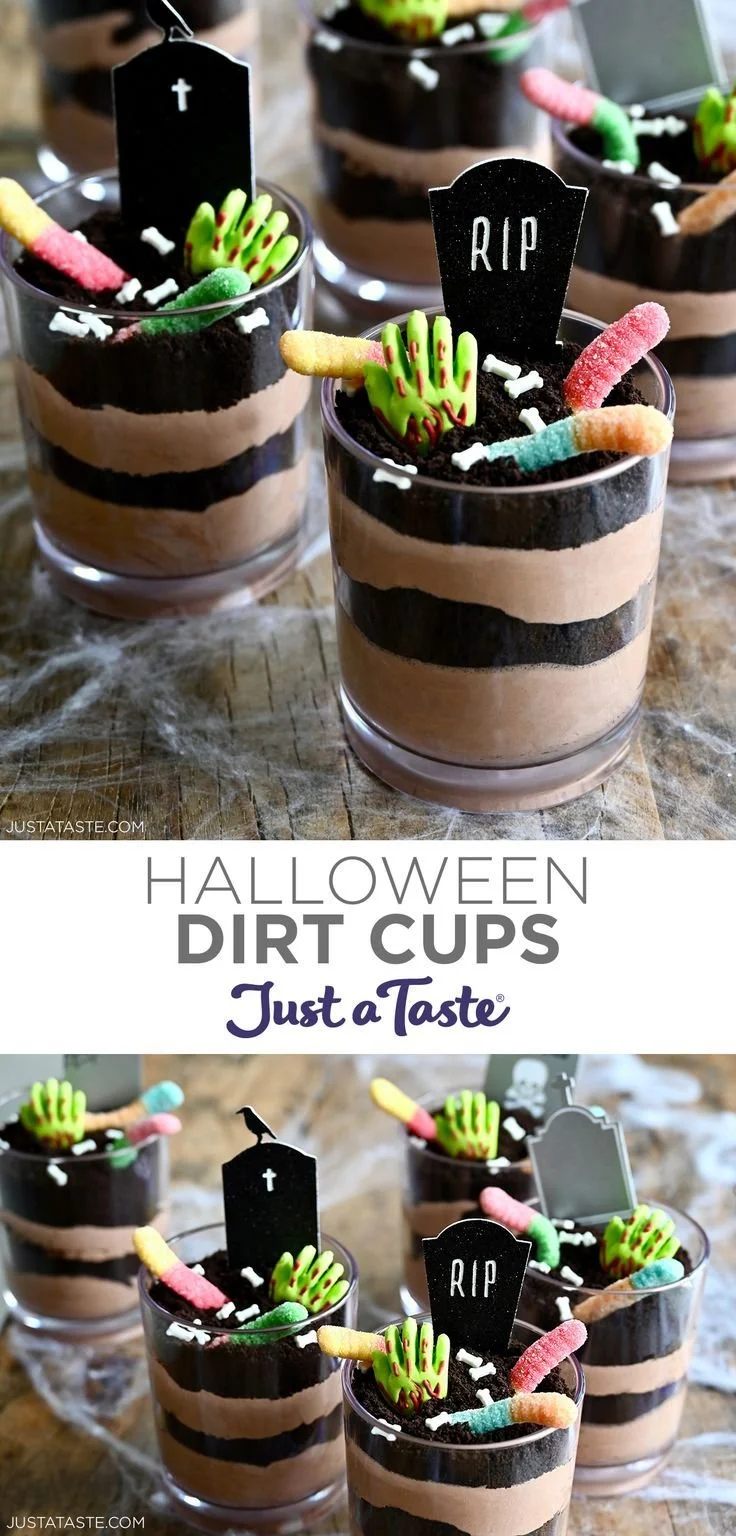
Halloween Dirt Cups are a fun and whimsical dessert that children and adults alike can’t resist. This easy-to-make treat combines layers of rich chocolate pudding, crushed cookies, and festive decorations to create a spooky yet delicious experience. Perfect for Halloween parties or family gatherings, these cups are sure to bring smiles and delight.
Why You’ll Love Halloween Dirt Cups
- Effortless Preparation: With just a few simple steps, you can whip up this delightful dessert in no time. It’s perfect for beginner cooks.
- Customizable Fun: Personalize each cup with different spooky toppings like gummy worms or candy tombstones, allowing everyone to make their own creation.
- No Baking Required: These cups require no baking, making them a stress-free option for entertaining. Just layer, decorate, and serve!
- Tasty Layers: The combination of creamy chocolate pudding and crunchy cookie layers creates a delightful textural contrast that will satisfy any sweet tooth.
- Perfect for Kids: Kids love the playful nature of dirt cups, making them a hit at Halloween parties, school events, and family gatherings.
Recipe Overview
- Prep Time: 15 minutes
- Cook Time: 0 minutes
- Total Time: 15 minutes (plus chill time)
- Servings: 4-6
- Difficulty Level: Easy
Ingredients You’ll Need for Halloween Dirt Cups
- 1 package chocolate pudding mix
- 2 cups milk
- 1 package chocolate sandwich cookies (like Oreos)
- Gummy worms
- Candy tombstones or other Halloween-themed candies
- Whipped cream (optional)

How to Make Halloween Dirt Cups
- Prepare the Pudding: In a mixing bowl, combine the chocolate pudding mix with the 2 cups of milk. Whisk until well combined, and let it chill in the refrigerator for about 5-10 minutes until it thickens.
- Crush the Cookies: Place the chocolate sandwich cookies in a zip-top bag and use a rolling pin or your hands to crush them until they resemble fine dirt.
- Layer the Cups: In clear cups or bowls, start layering by spooning in the chocolate pudding first. Add a layer of the crushed cookies on top, creating a "dirt" layer.
- Decorate with Toppings: On top of the last layer of crumbs, decorate with gummy worms, candy tombstones, or any spooky candy of your choice to give your cups a Halloween vibe.
- Add Whipped Cream: If desired, top each cup with a dollop of whipped cream for extra creaminess.
- Serve: You can serve these immediately or keep them chilled in the refrigerator until ready to serve.
Tips for Success
- Chill for Best Texture: Allow the pudding to chill for the recommended time to achieve the best texture and flavor.
- Even Layers: For a beautiful presentation, add equal amounts of pudding and cookie layers in each cup.
- Crushing Cookies: Make sure to crush the cookies well to create a fine consistency, resembling dirt, for the best visual effect.
- Customize the Toppings: Feel free to get creative with the decorations! Use gummy eyeballs or mini skeletons to add a unique twist.
- Use Clear Containers: Clear cups or bowls showcase the layers beautifully, making the dessert more enticing.
Easy Variations
- Vanilla Pudding Base: Swap the chocolate pudding for vanilla pudding and use crushed graham crackers for a different take on the classic dirt cup.
- Fruit Add-Ins: Add chopped fruit like strawberries or bananas between layers for a fruity surprise in your cups.
- Sprinkle Some Spook: Use Halloween-themed sprinkles to add color and fun to your dessert.
- Dairy-Free Option: Use a dairy-free pudding mix combined with almond or coconut milk to make the dessert suitable for lactose-intolerant guests.
- Chocolate Chips: Mix mini chocolate chips with the crushed cookies for added texture and taste.
What to Serve with Halloween Dirt Cups
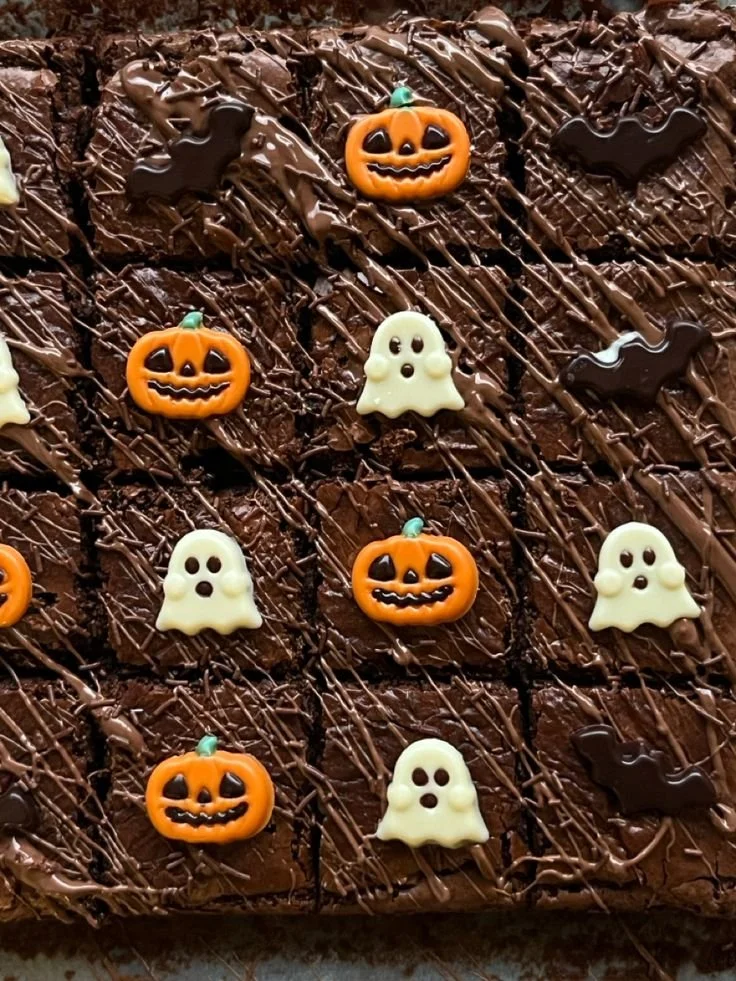
- Ghostly Brownies: Rich and fudgy brownies decorated with ghostly icing complement the dirt cups well for a balanced sweet table.
- Pumpkin Spice Muffins: These seasonal muffins add a touch of autumn flavor that pairs delightfully with chocolate.
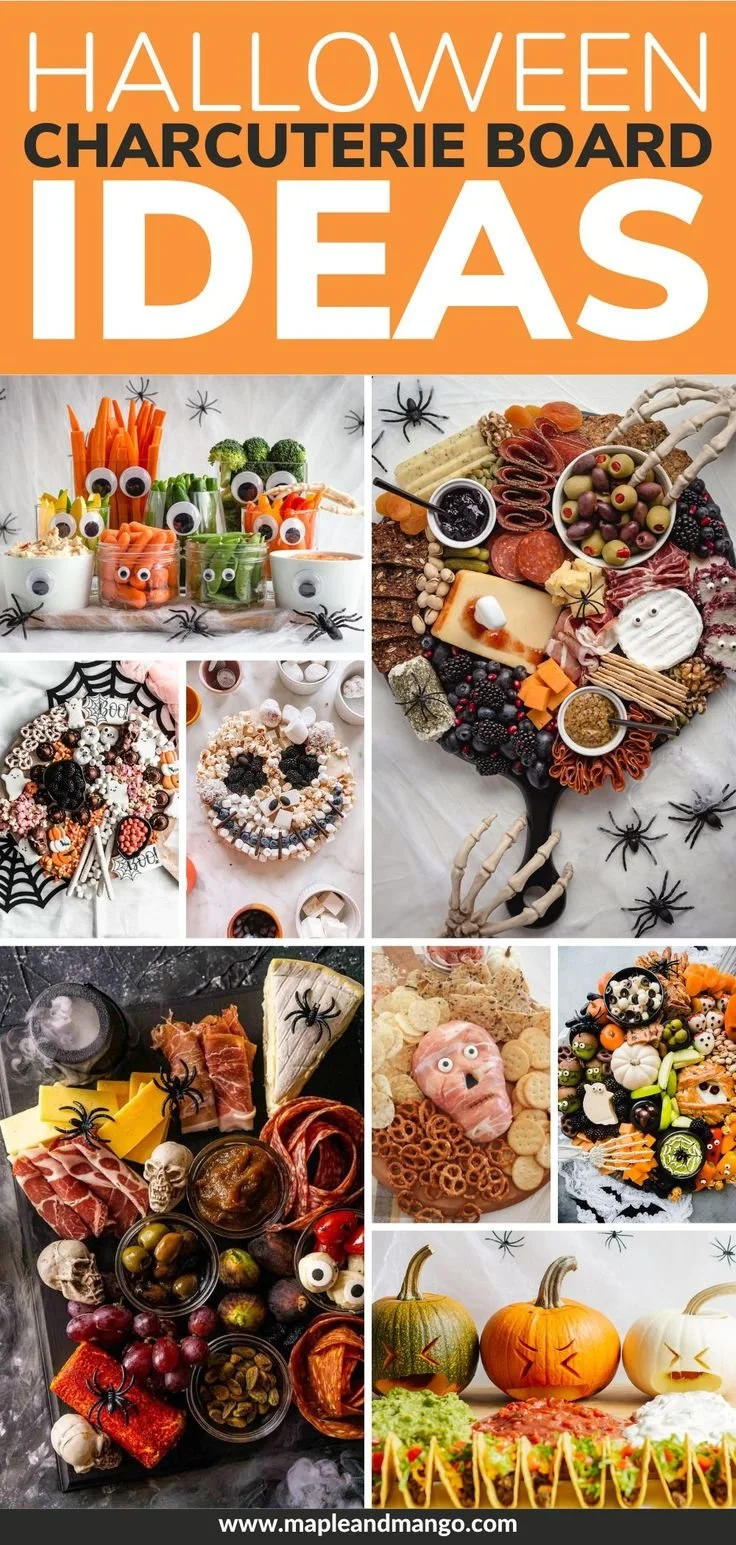
- Spooky Cheese Platter: A selection of cheeses and Halloween-themed snacks can provide a savory contrast to the sweetness of the dirt cups.
- Halloween Fruit Skewers: Skewers loaded with fruits like strawberries, grapes, and melon make a vibrant and healthy side dish.
- Candy Corn Mix: A bowl of candy corn or other seasonal candies can serve as fun decorations and a sweet snacking option.
Storage and Reheating
- Refrigerator Storage: Store any leftover dirt cups in an airtight container in the refrigerator for up to 2 days. Enjoy cold!
- Freezer Storage: This dessert is not recommended for freezing, as the texture of the pudding and cookies will change when thawed.
- Layer Preservation: To maintain the layer integrity, store the toppings separately and add them just before serving.
- Meal Prep: You can prepare the pudding and crush the cookies a day in advance; just assemble the cups when ready to serve.
Common Mistakes to Avoid
- Skipping Chill Time: Don’t skip chilling the pudding! It needs time to set properly for the best texture.
- Not Using Enough Layers: For visually appealing cups, aim for at least two layers of pudding and cookies.
- Overly Crushing Cookies: If the cookie texture is too fine, it may lose the "dirt" effect, so aim for a gravel-like consistency.
- Neglecting to Cover: Make sure to cover the cups if not serving immediately to prevent them from drying out in the fridge.
Halloween Dirt Cups: Background & Cultural Inspiration
Halloween Dirt Cups have become a beloved dessert for Halloween celebrations, drawing inspiration from traditional "dirt" desserts made with crushed cookies and pudding. This playful take on dessert harkens back to childhood memories, combining the joy of creating a visually fun treat with the nostalgia of Halloween festivities. The layering symbolizes the spooky elements of the holiday, while the decorations capture the playful spirit of dressing up and trick-or-treating. These cups not only satisfy sweet cravings but also provide an opportunity for creativity and family bonding during festive gatherings.
Frequently Asked Questions
Can I make these dirt cups ahead of time?
Yes, you can prepare the pudding and crush the cookies a day in advance. Assemble the cups and add decorations just before serving for the best texture and freshness.
What can I use as toppings besides gummy worms?
You can use candy eyeballs, mini skeletons, Halloween sprinkles, or chocolate spiders to give your cups an extra spooky touch.
How long do dirt cups last in the refrigerator?
The dessert can be stored in the refrigerator for up to 2 days. However, it’s best enjoyed within the first day for optimal freshness.
Can I substitute the chocolate pudding?
Absolutely! You can substitute it with vanilla pudding or any other flavor that you enjoy.
Are these dessert cups gluten-free?
To make the cups gluten-free, use gluten-free chocolate sandwich cookies and pudding mix.
Final Thoughts
Halloween Dirt Cups are a charming dessert that combines fun flavors with the spirit of the holiday. With their easy preparation and creative customization options, these cups are perfect for parties and family fun. So gather your ingredients, unleash your creativity, and enjoy a treat that screams Halloween excitement—it’s a sweet experience you won’t want to miss!